
Activities
Tomatoes: Step1 - Seeds
0
From mid-February to mid-March, plant your seeds!
You can buy seeds or save them from a juicy tomato. Just dry the seeds for a day, then plant them just below the soil.
Start them in any small container, like a disposable cup or yogurt pot. Cover it with a clear plastic cup or a cut-off pop bottle to keep it moist.
In a few days, you’ll see tiny shoots! Don’t overwater, and once the plant reaches about 5cm, remove the cover.
on to Step2...
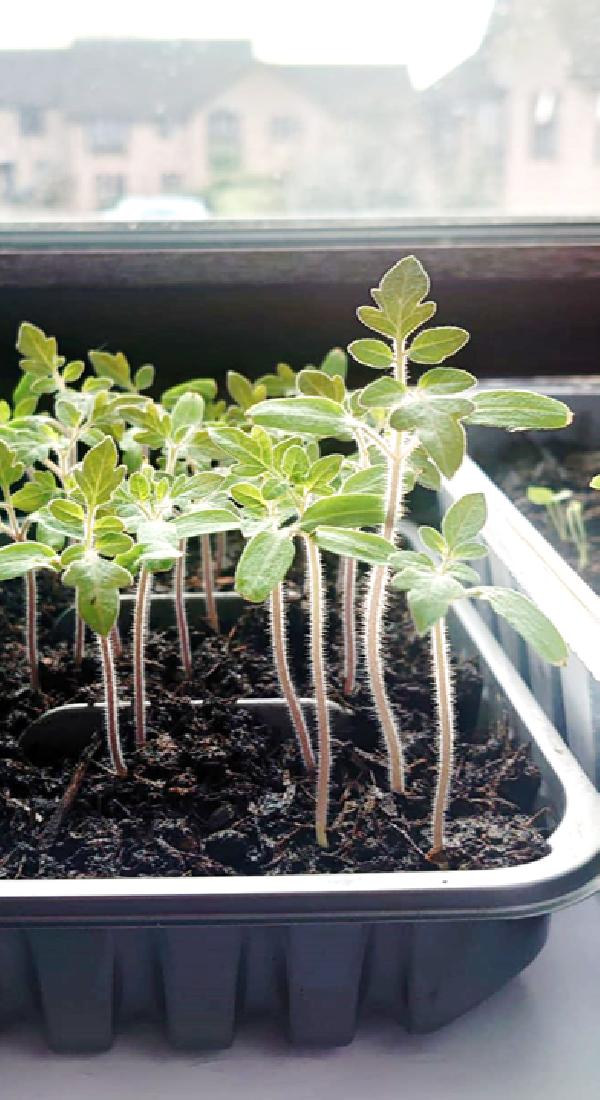
Tomatoes: Step 2 – Light & Warm
0
Tomato seedlings love sunlight! Place them near a sunny window or in a bright spot.
If it’s still cold outside, keep them indoors where it’s warm. You can even use a cardboard box lined with foil to reflect extra light onto the plants.
Rotate the container every few days so the seedlings grow straight.
On to Step 3...
If it’s still cold outside, keep them indoors where it’s warm. You can even use a cardboard box lined with foil to reflect extra light onto the plants.
Rotate the container every few days so the seedlings grow straight.
On to Step 3...
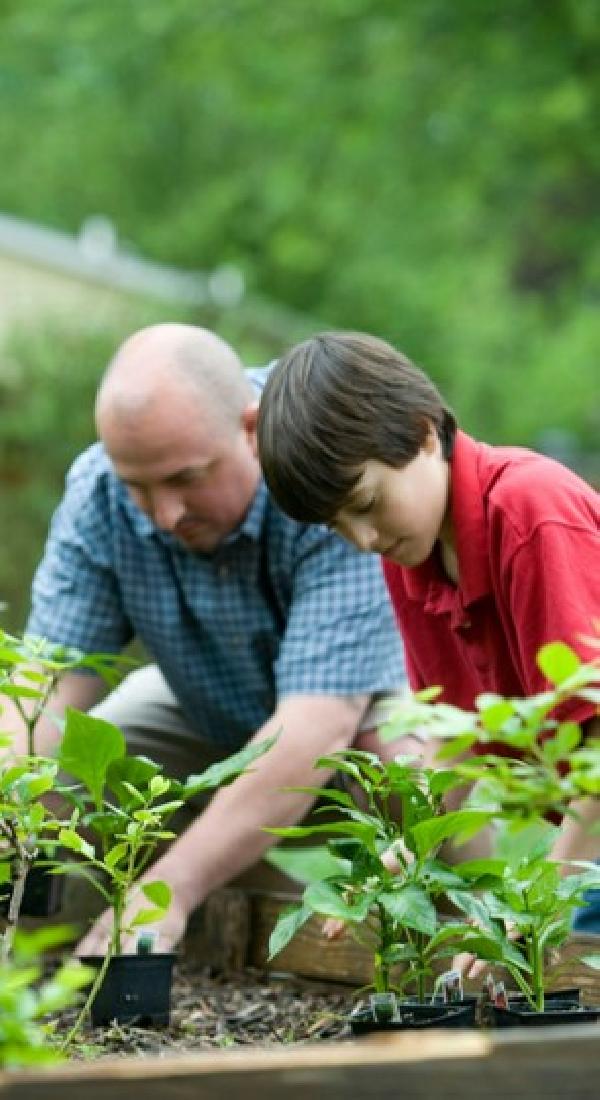
Tomatoes: Step 3 – Transplanting
0
Once your seedlings are about 10cm tall and the weather is warmer (after mid-May), it’s time to move them!
Find a bigger home for them, like an old bucket, a large pot, or a spot in the garden. Fill it with soil mixed with compost (you can make compost from kitchen scraps!).
Gently remove the seedling from its small container and plant it deeper in the new soil—this helps the stem grow stronger.
Keep weeds away from you seedling
On to Step 4...
Tomatoes: Step 4 – Water & Food
0
Tomatoes need regular watering, but don’t drown them! Water the soil, not the leaves, to keep the plant healthy.
Feed your plants with natural fertilizers like compost tea (soak compost in water for a few days) or crushed eggshells mixed into the soil.
As the plant grows, tie it to a stick or bamboo cane for support.
On to Step 5...
Feed your plants with natural fertilizers like compost tea (soak compost in water for a few days) or crushed eggshells mixed into the soil.
As the plant grows, tie it to a stick or bamboo cane for support.
On to Step 5...
Tomatoes: Step 5 – Watch & Wait
0
Tomato plants will grow flowers, which turn into tiny green tomatoes. Be patient—they’ll slowly ripen into red, juicy fruits!
Check your plants daily for pests. If you see any, spray them with water or pick them off by hand.
Soon, you’ll have your very own homegrown tomatoes!
On to Step 6...
Check your plants daily for pests. If you see any, spray them with water or pick them off by hand.
Soon, you’ll have your very own homegrown tomatoes!
On to Step 6...
Tomatoes: Step 6 – Harvest & Enjoy!
0
When your tomatoes are bright red and slightly soft, they’re ready to pick! Gently twist them off the vine.
Enjoy them fresh in salads, sandwiches, or as a snack. Save some seeds from your best tomatoes to grow again next year!
Congratulations—you’ve grown your own tomatoes!
Enjoy them fresh in salads, sandwiches, or as a snack. Save some seeds from your best tomatoes to grow again next year!
Congratulations—you’ve grown your own tomatoes!